Trying-out Tailwind CSS with Parcel
/ 6 min read
Last Updated:Heads up!
This article has been updated to use the latest parcel, typescript, react, and tailwind. See the updated date to know when it was last updated.
A few months years ago, I was searching for a UI kit to use in one of my hobby react apps. I found some good-looking
React UI kits like Ant Design, BlueprintJS and
Evergreen but sometimes the bloat becomes unbearable and customizability becomes a
priority. Material UI is said to be the most popular one, but, no thanks; not a fan of
material UI unless google implements it (update: MUI5 looks good). Anyway, the discussion on available react UI kits is
a topic for a different post. Here what happened was that I tried to create my own UI kit with SASS and soon found out
that there is a gap between my idea on how the components should look and my knowledge on how to use CSS properly. So I
tried to find a shortcut that would allo me to create professional-grade UIs with not much UI design knowledge.
What is Tailwind CSS?
Then I found out Tailwind CSS, which focuses on being a low-level utility-first (meta) CSS framework.
Tailwind CSS is a highly customizable, low-level CSS framework that gives you all of the building blocks you need to build bespoke designs without any annoying opinionated styles you have to fight to override.
With Tailwind CSS, you can use class names to apply bite-sized styling to your html elements, almost eliminating the pain of manually writing CSS. The homepage has a good demo so visit and see; don’t take my word for it.
This blog uses Tailwind CSS ❤
Let’s start
I’m trying out Tailwind CSS together with Parcel Bundler, TypeScript and React, but the official documentation lists other ways to use it. The stack I’ve chosen might as well be harder to get started.
First I’ve created the tailwind-test folder and initialized the project with yarn init -y
(create an empty project with yarn, skipping all the questions). You
can also use npm init -y or even pnpm. First add parcel bundler; this takes care of how to load,
process and bundle all the .tsx, .css, .html etc. you’re going to create.
yarn add --dev parcel
Then add Tailwind CSS as stated in the documentation.
yarn add tailwindcss
Add the below scripts section to your package.json so that you can run, build and clean the project easily.
"scripts": {
  "start": "parcel ./src/index.html --open",
  "build": "parcel build ./src/index.html",
  "clean": "rm -rf dist .cache"
},
Create the src folder and create the index.html file with a basic HTML5 template. You can also use html:5
snippet/emmet if you’re using vscode.
Add <div class="app"></div> and <script src="./main.tsx"></script> inside body, so that React can mount your app
there.
<!doctype html>
<html lang="en">
  <head>
    <meta charset="UTF-8" />
    <meta name="viewport" content="width=device-width, initial-scale=1.0" />
    <meta http-equiv="X-UA-Compatible" content="ie=edge" />
    <title>Document</title>
  </head>
  <body>
    <div id="app"></div>
    <script src="./main.tsx"></script>
  </body>
</html>
Create the main.tsx and add your React app there. Note that we have added a button which uses Tailwind styles with
utility classes. Utility classes are not the only way you can add
Tailwind styles. Since we’re trying Tailwind with React, utility classes is enough for us right now.
import React from 'react';
import ReactDOM from 'react-dom/client';

function App() {
  return (
    <div>
      <button className="rounded bg-blue-500 px-4 py-2 font-bold text-white hover:bg-blue-700">
        Hello, Tailwind!
      </button>
    </div>
  );
}

ReactDOM.createRoot(document.getElementById('app')!).render(<App />);
Create main.css file and add the below. These are tailwind directives. This is needed to inject tailwind
styles and utility classes into your CSS.
@tailwind base;

@tailwind components;

@tailwind utilities;
Add .postcssrc file inside the project folder (i.e.: one level up from src folder). Tailwind CSS is a
PostCSS plugin where PostCSS handles all pre/post processing of CSS you write, such as adding
vendor prefixes
automatically. Parcel has built-in support for PostCSS, but doesn’t know yet
about Tailwind, so we have to configure it with the below content. Parcel does the work of autoprefixer automatically
so you don’t need to add it.
{
  "plugins": {
    "postcss-import": {},
    "tailwindcss/nesting": {},
    "tailwindcss": {}
  }
}
Now it’s show-time. Run yarn start.
At this moment, if you are curious why we didn’t add typescript or react, don’t worry; parcel will install them
automatically — and yes, it knows that TypeScript is a dev dependency. And since you have passed the --open flag, it
even opens the browser window for you.
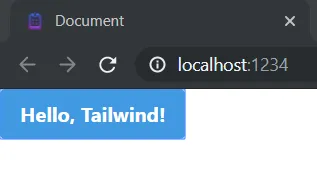
You should see something like below.

Done.
Trying to style my way
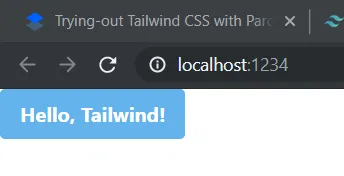
I tried playing with it a little. Changed hover:bg-blue-700 to hover:bg-blue-400. Now it displays a lighter color on
mouse over.
<button className="rounded bg-blue-500 px-4 py-2 font-bold text-white hover:bg-blue-400">
  Hello, Tailwind!
</button>

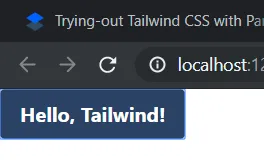
Added an active background color using
active:bg-blue-900. (This technique with colon is called Pseudo-class Variants in Tailwind CSS; we use pseudo-class
names in className rather than in CSS.)
It works.

Next steps…
Now, let’s check the file sizes… It’s only a few kilobytes!
Tailwind basically traverses through all our .tsx files and finds the class names we have used. Then it removes
selectors that match all unused class names from CSS (check that regex!). Ugly, but works. Of course, you have to be
careful when dynamically generating CSS class names in react.
At this moment, you should’ve realized that although Tailwind can make our lives easier, it also has its own drawbacks. Working with Tailwind CSS is NOT a no-brainer.
The good, the bad, and the ugly
I can notice several good things about Tailwind CSS at a glance.
- Get things done without having to write a lot of code.
- No need to worry about different CSS naming standards and conventions such as BEM or OOCSS.
- The built-in styles are pretty good and useful.
- Tailwind doesn’t hate customization. New plugins can be created and configuration is very flexible.
- Can write your own CSS also, if you want an escape route (No lock-in).
There isn’t much to complain about the library but,
- Advanced controls such as switches, calendars, tables, floating notifications, modals etc. are not available.
Demo

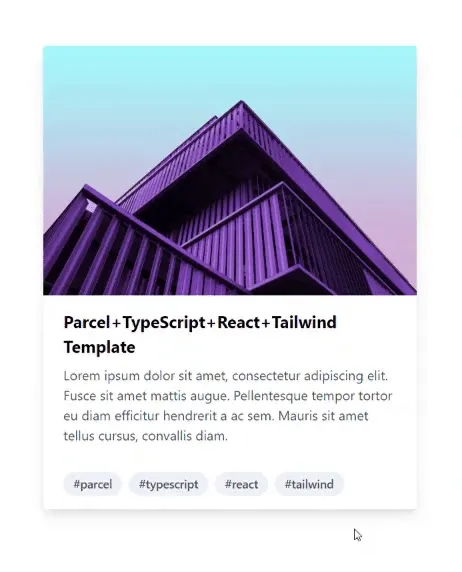
I created a template with the above plugins as a starting point here on GitHub.
Or, see it in action.
The boilerplate on github and the demo are up-to-date.
Tailwind also supports custom themes, variants, plugins etc., but that’s outside the scope of this short post. The documentation is your friend.
Resources
Official: https://tailwindcss.com/resources
Official (paid): https://tailwindui.com/
Official: https://headlessui.com/
https://github.com/aniftyco/awesome-tailwindcss
Doesn’t use tailwind, but complementary: https://www.radix-ui.com/
Leave a comment below if you have followed the above guide with success, or faced any issues.